How to Draw a Squirrel Inside a Tree Hole
This step by step tutorial explains how to draw a squirrel from the side view and provides detailed drawing examples for each step.
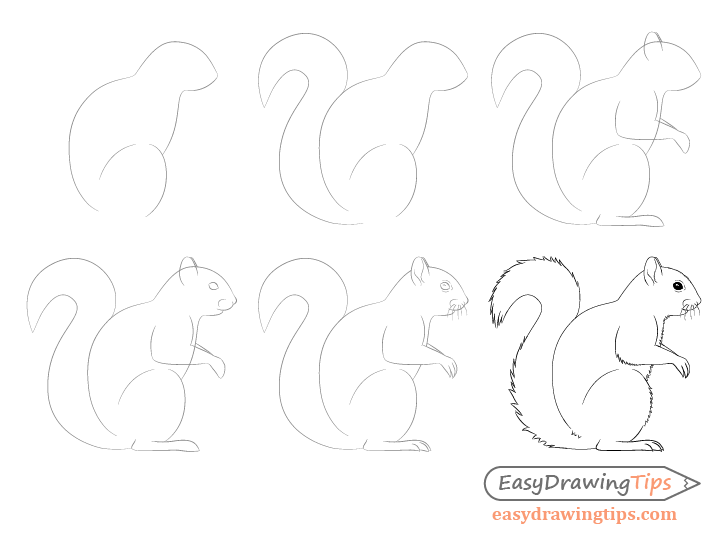
This is a general guideline for drawing a squirrel in a pose that they often tend to sit in. Squirrels can vary in shapes and sizes based on species and other factors but the drawing principals provided in this tutorial can still apply.
Step 1 – Draw the Largest Shapes of the Squirrels Body
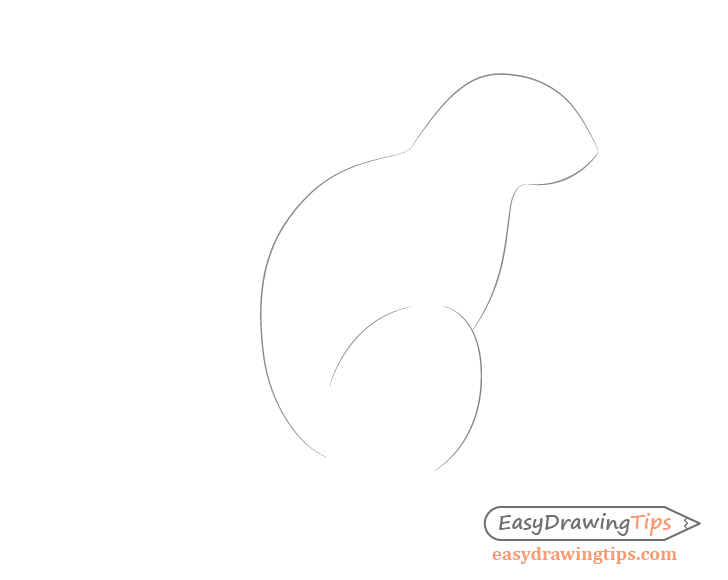
Generally the squirrels body in this position consists of shapes that are similar to ovals or eggs.
Star the squirrel drawing from the head. Draw a very basic shape of the head without any of the details. Next draw the basic shape of the body which at this point will pretty much be just two fairly smooth curves, one for the back and one for the front. Finally draw the upper part of the squirrels back leg (again basically with just two curves).
Step 2 – Draw the Basic Shape of the Tail
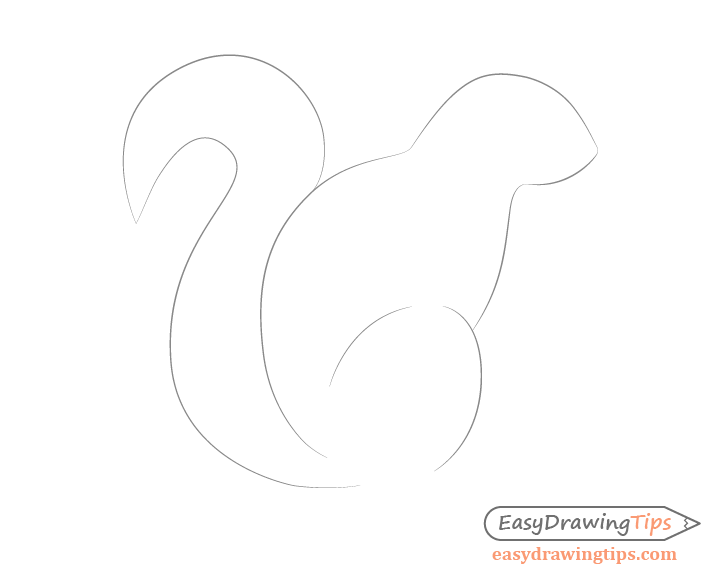
When it's sitting down the squirrels tail tends to resemble a question mark from the side view. It starts from the very bottom of the body, goes along the back and then curves away from the body around the level of the head.
Step 3 – Draw the Front and Back Paws
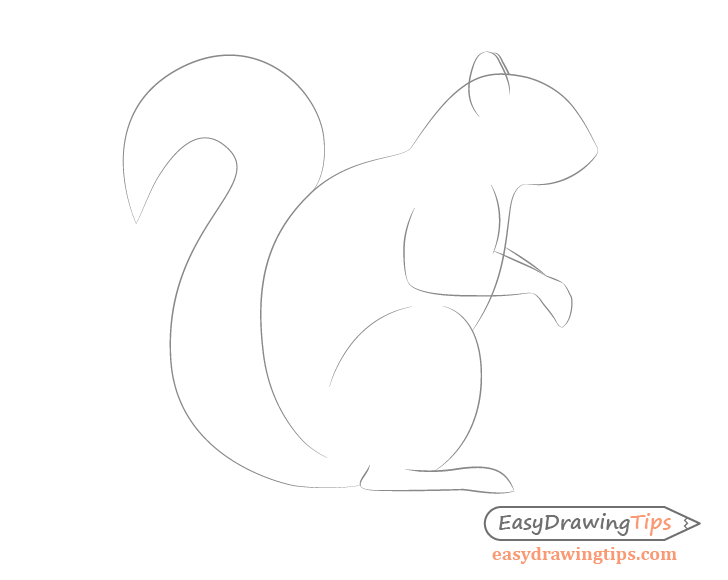
In this step add the basic shapes of the smaller parts of the squirrels body. Draw as follows:
- Front Ear – egg like shape for the front ear with the back side going farther down then the front side
- Back Ear – basically tracing the shape of the front ear but slightly smaller
- Front Legs– thick upper part and thinner lower part
- Front Paw – sort of hanging down (as one shape for this stage of the drawing process)
- Back Paw – long and thin but wider towards the end
Step 4 – Place the Facial Features
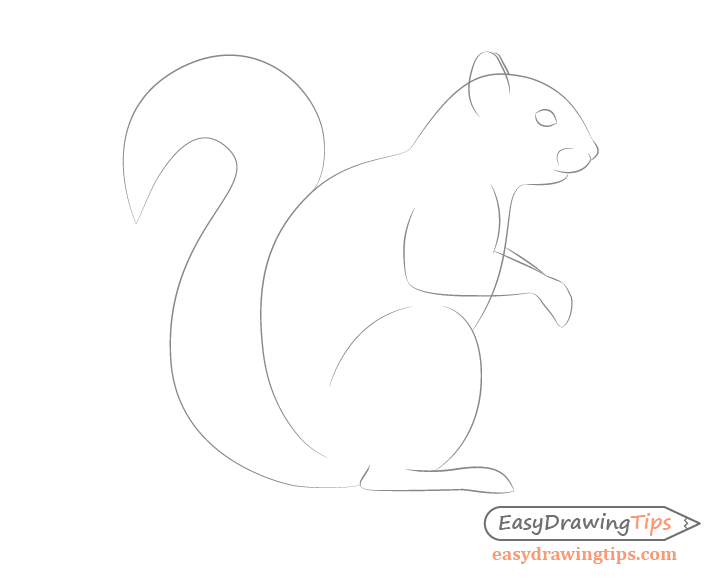
Add the facial features.
- Eye – a lemon like shape
- Nose – basically just a small bump
- Mouth – curving downwards from the nose with a reverse curve above
Step 5 – Draw the Smaller Details
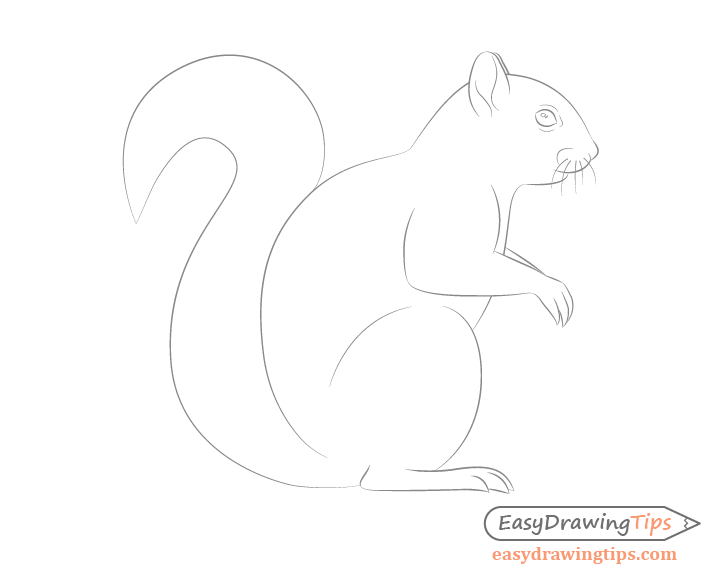
Draw the smaller details as follows:
- Inner Ear Details – thicker at the bottom and thinner at the top (two wave like shapes)
- Eyelids – a sort of light outline of the shape of the eye
- Eye Reflections – indicate the shape of the reflections in the eye
- Whiskers – basically just a few curved lines
- Paws – individual toes on each paw
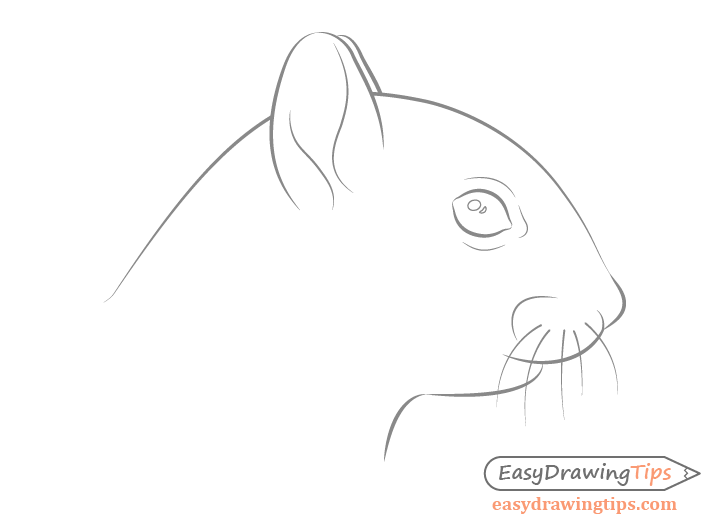
Step 6 – Add the Fur & Finish the Drawing
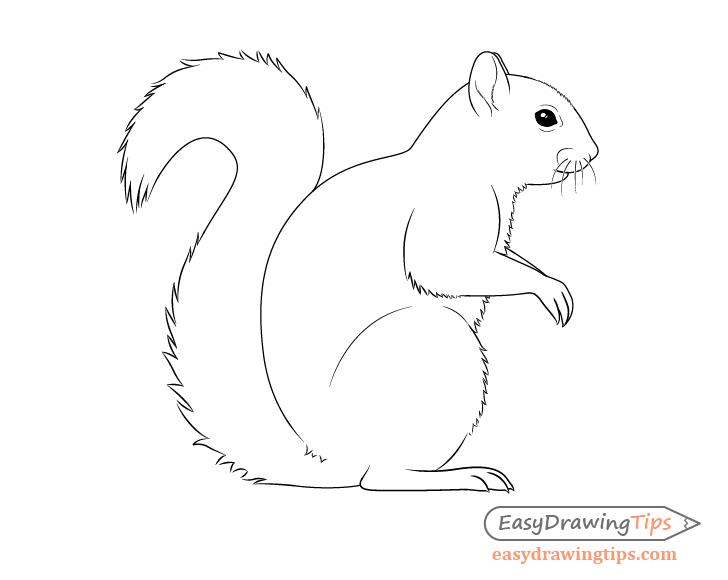
Draw the fur in clumps of varying sizes and curving in slightly different directions to make it look more natural.
Some areas such as the tail will tend to have larger clumps while other areas such as the head will have tiny clumps.
A squirrel's fur will generally tend to stick out in the following areas:
- Tail – along the outer curves and tip
- Head – forehead area
- Ears – inner ears area
- Front Legs – bottom elbow area
- Back Leg – front end of upper part of the leg
- Body – chest/stomach area
Other things to add:
- Eyes – basic shading (leave the reflections white)
- Toes – slightly more detailed claws
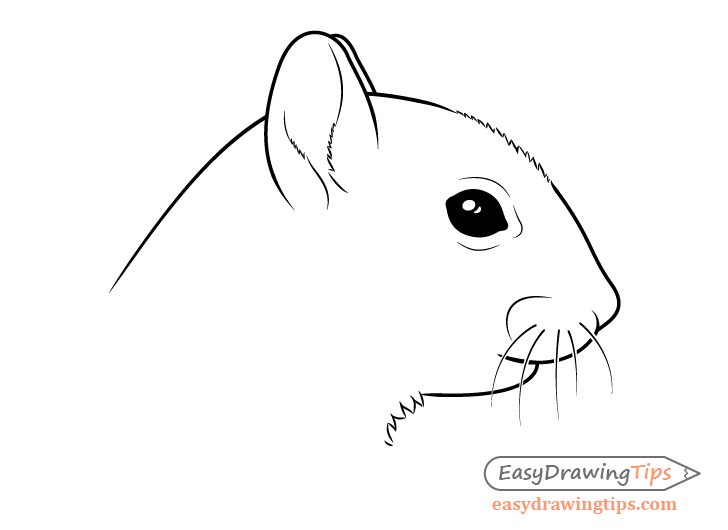
You can check the close up drawing of the head above for the smaller details.
Conclusion
Squirrels (from the side view) are not a very difficult animal to draw. The proportions and look of the various body parts can vary depending on the species of squirrels but the same general drawing principals can still apply.
For some similar tutorials also see:
- How to Draw Lion Face & Head Step by Step
- Dog's Head Front View Drawing – Step by Step
- How to Draw a Sitting Cat Front View – Step by Step
- How to Draw a Horse From the Side View Tutorial
- How to Draw a Lion Full Body Step by Step
Source: https://www.easydrawingtips.com/how-to-draw-a-squirrel-side-view-tutorial/
0 Response to "How to Draw a Squirrel Inside a Tree Hole"
Post a Comment